- Setting up Auditing & Logging of Files/Objects Using Native Windows File Server Tools - 16th October 2020
- Designing Key Performance Indicators (KPI) - 15th July 2020
- DDOS Attacks and Website Hacking - 6th July 2020
In this user guide, we will cover upgrading the Operating System (OS) of our server, in our example, a web server, running Ubuntu 16.04 to version 18.04. Version 18.04 was released of 18.04 on 26 April 2018. With many servers running Ubuntu being web servers, they also run PHP, and with the latest version of PHP being released on 28 November 2019, many web servers will be in the need for an upgrade. This guide will be useful in that as servers upgrading Ubuntu to the latest OS will also upgrade many packages on the server to a later version.
To begin with, I have to say that I favour a migration to a new server running the latest versions instead of upgrading the current server. I understand why upgrading the server is attractive than a migration as it involves less effort. However, migrating to a new server, with a fresh install of the latest version of all the components means there is less risk of components breaking, failing to work with each other, some components being upgraded whereas some components not being upgraded (upgrading the OS and packages does not guarantee all components get upgraded automatically – you may still need to upgrade some components manually), upgrade scripts, remnants of downloaded data for the upgrade and deprecated orphaned programs remaining on the system.
A fresh, new server, especially as OS’s are not upgraded very often, onto which the applications are migrated is, for this reason, my preferred option, and is considered industry standard.
However, as upgrades are still preferred (and valid), particularly within smaller organisations where they may be the more efficient option, I am covering them in this blog post.
Finally, as we will see later on, this servers to demonstrate some of the technicalities, and pitfalls of the upgrade option, as well as the additional work required to remediate them.
As this guide covers simply the upgrade of the OS and re-configuring some critical components, and as is the industry norm for Core OS and ecosystem components, the OS and files will all be on one partition.
Make a Backup.
No matter what the end goal, if you are making system level changes in particular, always, always, make a backup first. If anything goes wrong, and it is almost a guarantee that something irrecoverable will go wrong when you least expect it causing an entire system failure, if you have a backup, you can always rollback the changes and revert back to the previous, working state.
Always back up.
Always (for emphasis).
In our example, I am using Amazon Web Services (AWS). Keeping to our rule of making a system backup, I will be making a snapshot of the storage partition that contains all the Core OS and ecosystem components. There are many guide for how to do this on AWS, some of the best ones are from AWS themselves, such as the one here, so I will only briefly cover the steps in this guide.
Shut Down the Server
Log on to the server (or AWS console in our case) and shut it down. Although making a snapshot of a running server is possible, I prefer to shut it down, as that guarantees no data being written to the server is missed out, and the data on the volume being backed does not contain any transient data.
The picture below shows the menu items that need to be selected in AWS under Actions.
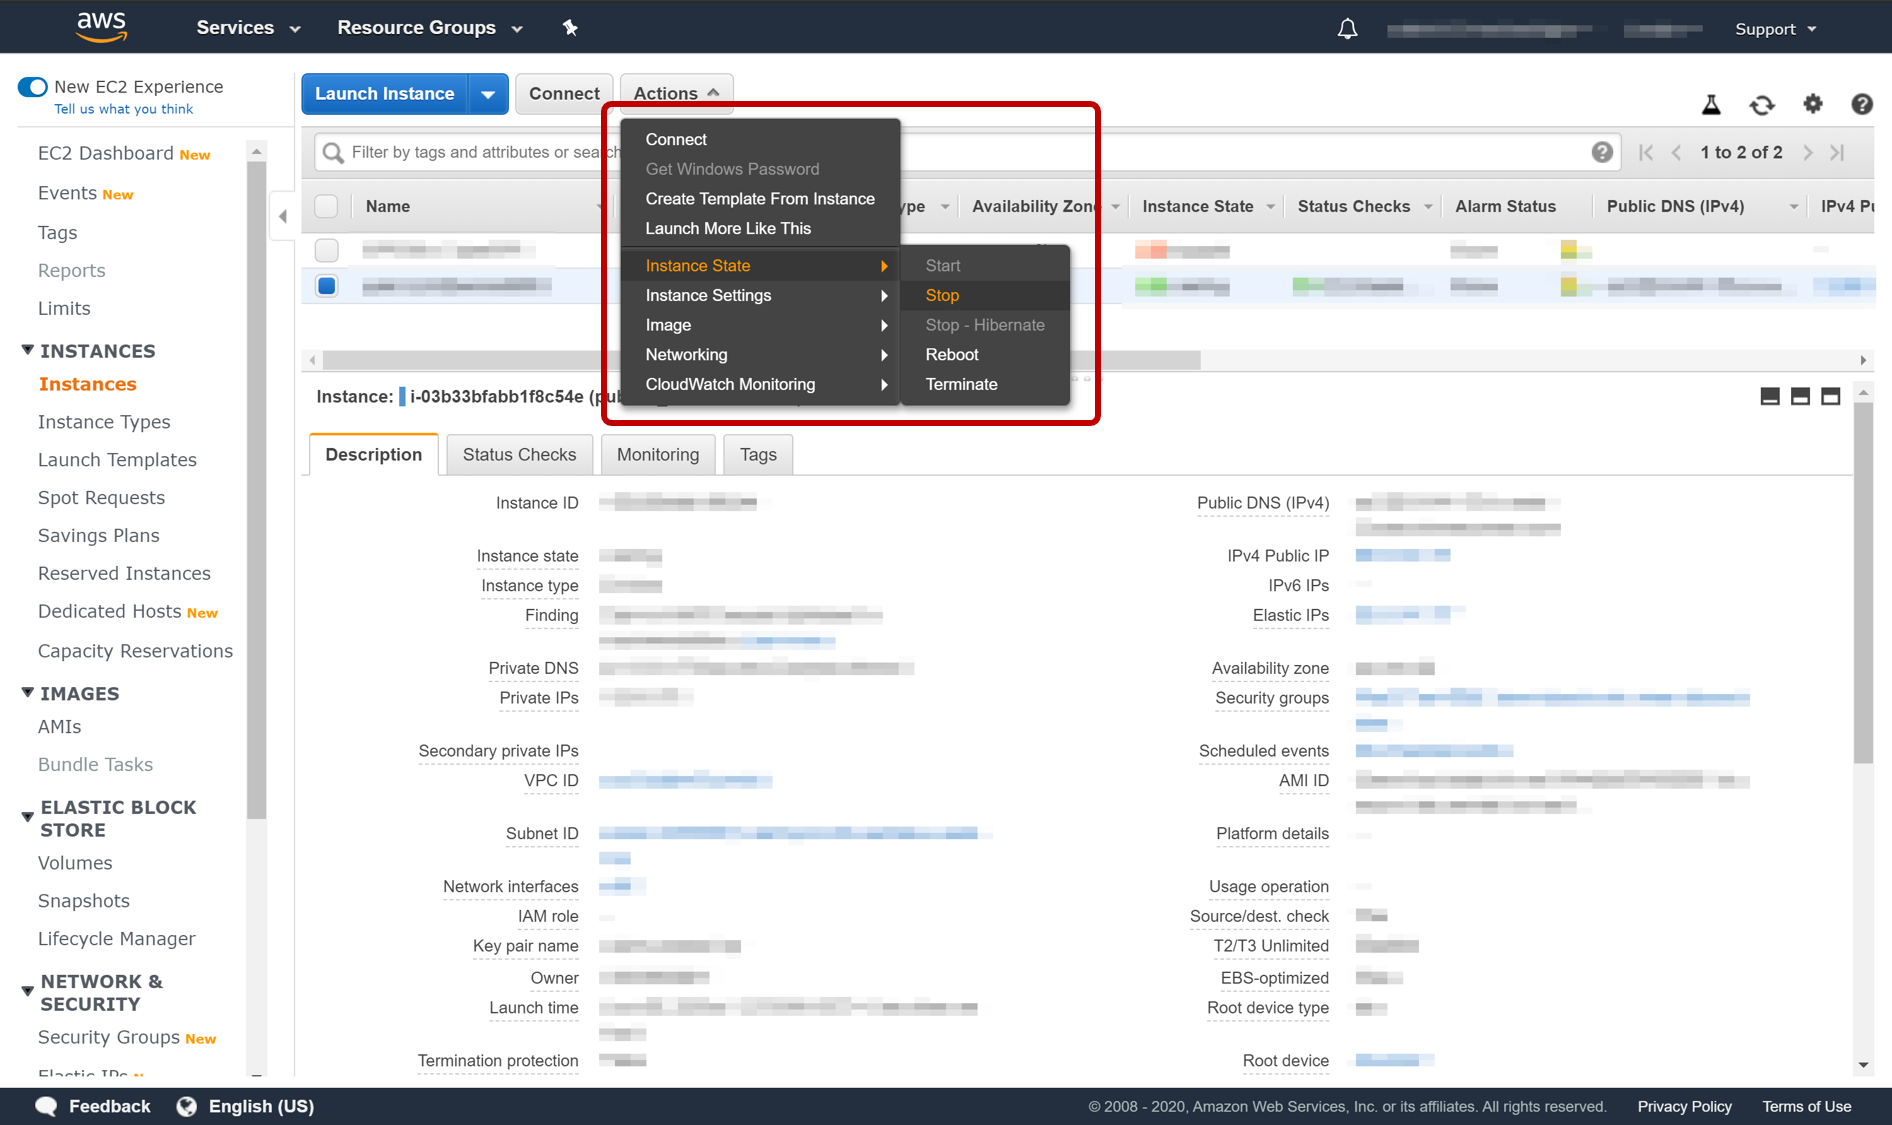
Shutting Down the Server
Initiate the Backup
Essentially, a backup is a point in time “picture” of the thing (in our case a volume on a hard drive) being packed up. This is why it is called a “snapshot.
Go to the Volume section of the console (left hand menu), then select the volume needing to be backed up, and select the Action menu and initiate the backup, as shown in the picture below.
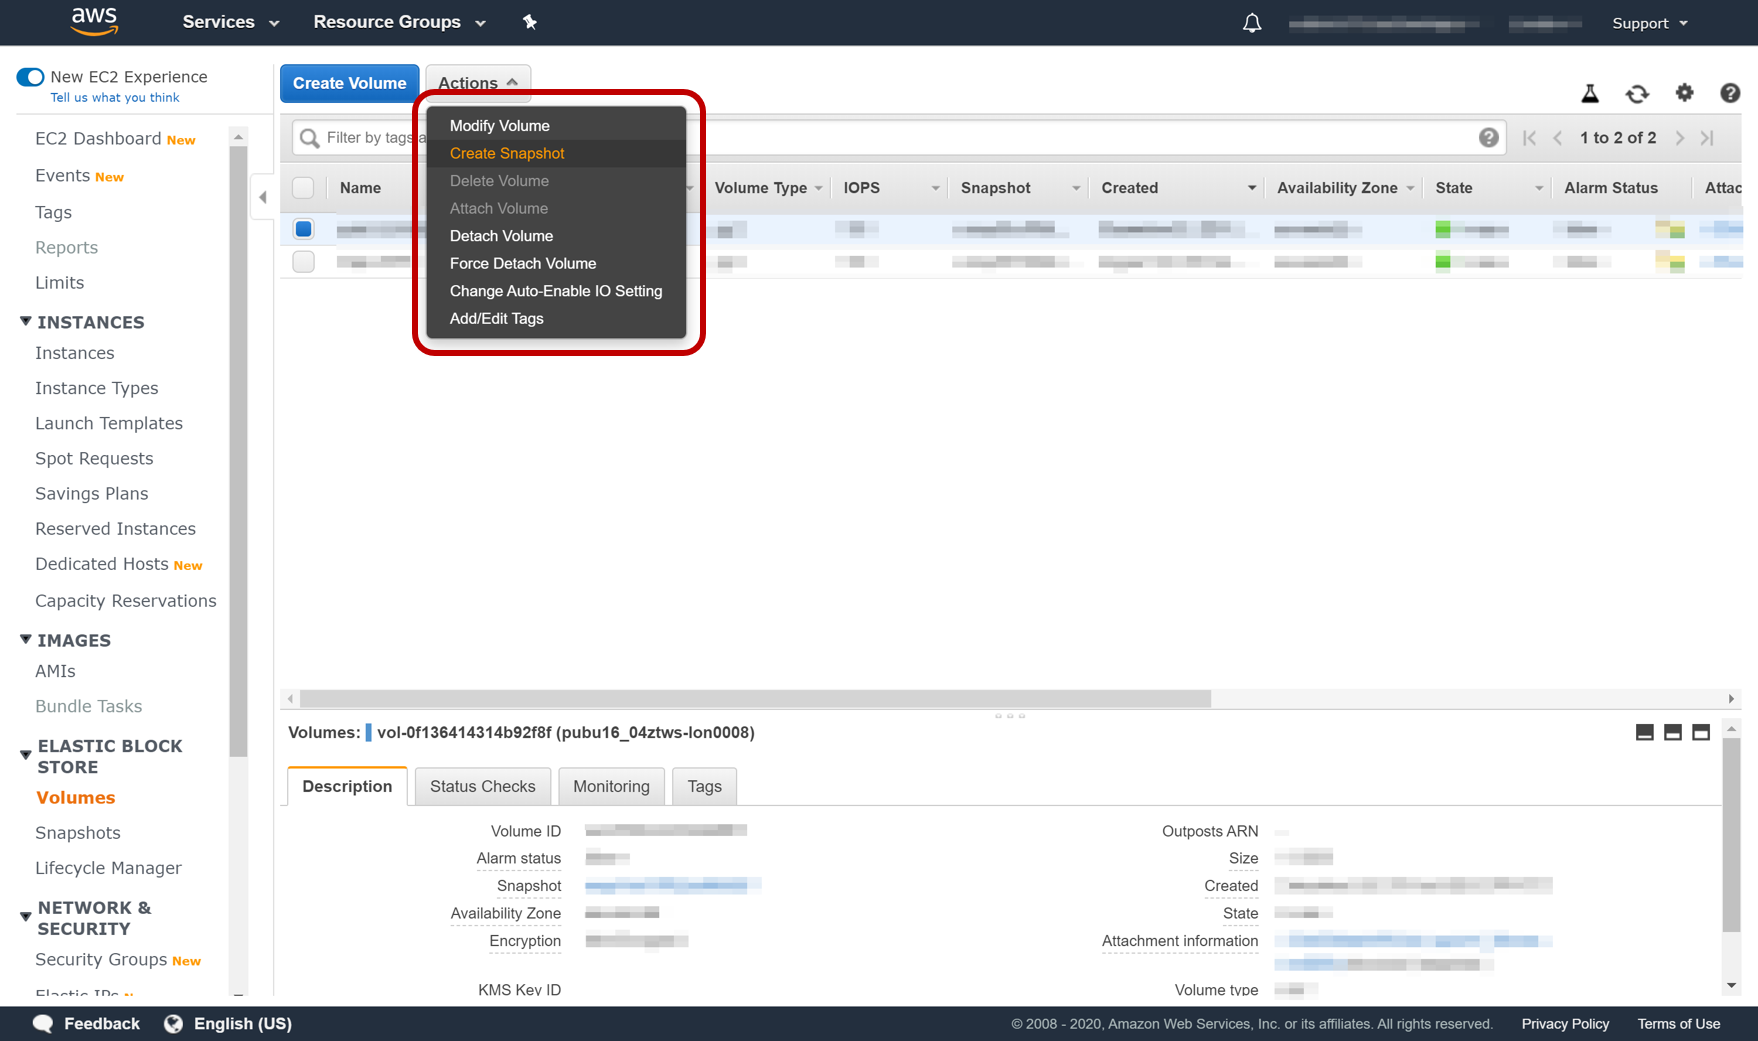
Creating a Snapshot Backup of the Storage
No Need to Open a Second SSH connection
All upgrades carry a risk of failure and breakage. As the upgrade is being carried out over SSH, there’s a risk the upgrade failure will result in a failure of the current SSH daemon and will cause the server to become unreachable. Thus, Ubuntu opens another SSH daemon temporarily on port 1022 for which a firewall rule would have to be enabled on both the AWS firewall and local server firewall. Furthermore, access over port 1022 would also have to be enabled on the security group for AWS. This is not necessary for us, as we have taken a backup of the server and will failover to that in case of upgrade failure.
Always Select the Option to Keep the Configurations
The server we are upgrading is a web server. Like any server, it will have been configured to run applications in the way we deem is best. While upgrading, new, default configurations will be (optionally) installed, for e.g. for SSH, apache, etc. However, we would prefer to keep our existing configurations for our systems, thus we should always select the option, when prompted, to keep the current/existing configuration/config file.
To repeat, as this is an important concept: Do not install new config files when prompted. Always select the option to keep the same files already being used.
Update and Upgrade the Package Manager and Packages
Enter the following in the command line interface (CLI) to update the package manager
|
1 |
sudo apt-get update |
Enter the following in the command line interface (CLI) to upgrade packages
|
1 |
sudo apt-get upgrade |
Upgrade any packages that may have been ignored by the previous upgrade command:
|
1 |
sudo apt-get dist-upgrade |
Remove files no longer needed that were downloaded automatically as part of the upgrade
|
1 |
sudo apt autoremove |
Upgrade the OS
Upgrade Ubuntu with the release-upgrade tool (this is a tool made by canonical specifically for upgrading the OS):
|
1 |
sudo do-release-upgrade |
This upgrade will take time. I have particularly found it takes time upgrading the AMD 64 bit drivers. During these periods the terminal may become unresponsive. This is ok, so wait patiently and do not shut down, or brute force closure of the terminal as this will crash the upgrade. Eventually the terminal will resume updating the screen with new installation status messages.
Check to see if kernel has been updated
|
1 |
uname -r |
An updated kernal version number should be shown that the one in the step above.
Restart the server (this is critical as services like chrony will have stopped and need a restart to function properly)
|
1 |
sudo reboot |
Additional Component Reconfiguration (Optional)
Below are actions that only need to be performed if these components were part of the system prior to the upgrade.
TLS/SSL Certification and Encryption
If you were using a TLS/SSL certification agent, such as Certbot, for securing the server, then most agents are bound to the OS. During the upgrade the previous agent will most likely have been uninstalled, and will thus have to be re-installed. For Certbot, you can follow the instructions in my tutorial covering a Web server setup.
Enable the New Version of PHP on Apache
As part of the upgrade, PHP will have been updated to a newer version. The latest version is 7.4, however the basic OS upgrade process updates PHP to a slightly earlier version of 7.2. This earlier version is still valid, and can be used safely. However, Apache, our web server will continue to use the older version of PHP until it is expressly configured to use the later version. This can be done using the following commands:
|
1 2 3 |
a2dismod php7.0 a2enmod php7.2 service apache2 restart |
Doublecheck if the Time, Date and NTP Synchronous Systems are Working
Another server component that can sometimes prove troublesome is the new Debian Linux version of NTP – chrony. You can follow the steps in the chrony section of the tutorial for setting up a web server to double check if it is working.
Related posts:
Z Tech Blog
Z Tech is a technologist, senior programme director, business change lead and Agile methodology specialist. He is a former solutions architect, software engineer, infrastructure engineer and cyber security manager. He writes here in his spare time about technology, tech driven business change, how best to adopt Agile practices and cyber security.